Get ready to unleash your inner artist this Valentine's Day with these stunning acrylic nail designs! 2025 trends are all about expressing your unique style, and your nails are the perfect canvas. Whether you're a seasoned nail pro or a complete beginner, this guide will walk you through creating gorgeous Valentine's Day nail art. We'll explore trending color palettes, essential tools, and step-by-step tutorials for three captivating designs. Let's dive in!
Choosing Your Perfect Valentine's Day Color Palette
Selecting the right colors is key to achieving the perfect Valentine's Day manicure. While classic reds and pinks remain eternally popular, let's explore some exciting new color palettes that will truly make your nails pop.
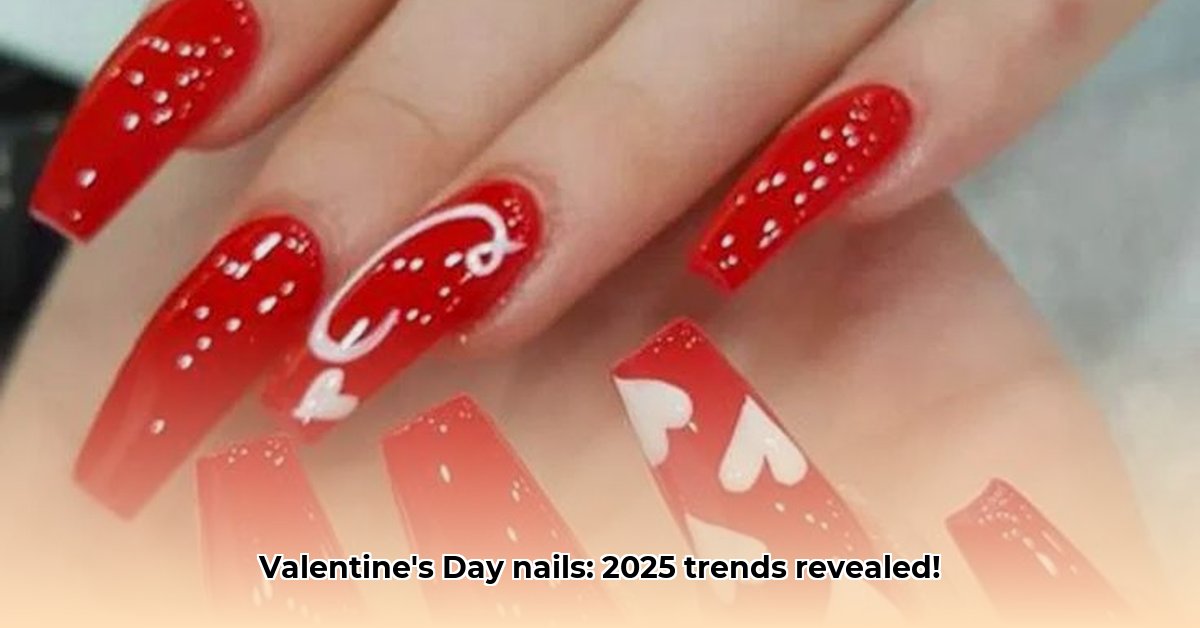
Classic Romance: Embrace timeless elegance with deep, rich reds, soft blush pinks, and creamy, luxurious nudes. This palette is sophisticated and romantic, perfect for a special date night. Think of a crimson red accentuating a soft, milky pink base – simply divine!
Pastel Paradise: For a softer, more whimsical look, opt for delicate pastel pinks, lavenders, and mint greens. This palette is playful and fresh, adding a touch of springtime sweetness to your Valentine's Day celebration. Imagine a dreamy blend of baby pink fading into a soft lavender – absolutely enchanting!
Jewel-Toned Glamour: Make a bold statement with luxurious jewel tones: deep emeralds, ruby reds, and sapphire blues. This palette exudes elegance and is perfect for making a memorable impression. A deep emerald green with a ruby red heart accent will instantly elevate your Valentine's Day look.
Unexpected Twists: Dare to be different! Incorporate unexpected pops of color like vibrant corals, sunny oranges, or even a shimmering gold accent for a truly unique and personalized manicure. A coral base with a golden heart – a striking and unexpected choice!
Essential Tools & Materials: Get Your Kit Ready!
Before we get started, you'll need a few essential tools and materials. Don't worry, you don't need a professional nail salon setup!
Acrylic Powder: Choose a variety of colors to match your chosen palette. You'll want at least a few different shades of pinks, reds, and any accent colors you plan to use.
Liquid Monomer: This is the liquid that activates the acrylic powder, allowing you to create nail enhancements.
Acrylic Brushes: Invest in a few different sizes of brushes. You'll need a larger brush for applying the acrylic and a smaller, more detailed brush for intricate designs.
Nail Prep Kit: This is crucial for prepping your natural nails. It usually includes a cuticle pusher, nail file, buffer, and cleanser. Proper preparation ensures long-lasting results.
Nail Tips (Optional): If you desire longer nails, nail tips provide a great base for building up your acrylics.
Base and Top Coat: These are essential for protecting your nails and achieving a smooth, polished finish.
Nail Polish (optional): This allows for adding extra details or accents to your designs.
Nail Art Embellishments (Optional): Get creative with glitters, rhinestones, tiny charms, or other embellishments to add a unique touch!
Step-by-Step Nail Art Tutorials: Three Designs to Try
Now for the fun part! We'll cover three different designs, progressing from simple to more advanced. Remember to always prep your nails thoroughly before starting.
Design 1: Simple Heart Accents (Beginner-Friendly)
- Apply a base coat.
- Apply two coats of your chosen base color (e.g., a soft pink).
- On one or two accent nails (often the ring finger and thumb), use a fine detail brush to paint small, delicate hearts.
- Once dry, apply a top coat for shine and longevity.
Design 2: French Manicure with a Romantic Twist (Intermediate)
- Apply a base coat.
- Apply a sheer pink or nude base color.
- Instead of a classic white tip, use a sparkly pink, vibrant red, or a contrasting jewel tone. Adding tiny hearts or dots near the base enhances the Valentine's Day theme.
- Seal with a top coat.
Design 3: Ombre Heart Delight (Intermediate/Advanced)
- Apply a base coat.
- Use a makeup sponge to create a beautiful ombre effect with pink and red nail polish, blending from dark to light.
- Once dry, use a small brush to add small, contrasting hearts near the tip or base of your nail.
- Apply a top coat for a polished finish.
Design Variations and Tips: Make it Your Own!
These are just starting points! Don't be afraid to experiment and make these designs your own:
Add Some Sparkle: Glitter, rhinestones, or tiny metallic accents add extra glamor.
Try Negative Space: Leave some parts of your nail bare for a modern, minimalistic look.
Mix and Match: Combine elements from different designs for a truly unique creation.
Remember to cure each layer of acrylic properly to ensure longevity. Most importantly, have fun and express your creativity! Share your stunning Valentine's Day nails on social media using #ValentinesDayNails #AcrylicNailArt #NailArt2025.